10. Setting Up Frontend Login
“Django comes with a user authentication system. It handles user accounts, groups, permissions and cookie-based user sessions.”
So far you can only create and edit bookmarks with the admin site. The next steps will show you how to set up a login form in the frontend.
Django comes with an app named django.contrib.auth which includes
everything necessary to authenticate a user. The core element is the
model User that you already used to store the
owner in the Bookmark model. It contains fields to store username,
password and email. You can find a full list of its fields in the
documentation.
The authentication works this way:
If a user logs in, a cookie with a unique session id is set. The browser
will send this cookie with every request. With the session id the
according user is mapped to the request and you can access the User
object with request.user like already done in
the bookmark_user view.
We’ll create two views to allow users to login without using the admin site.
10.1. URLconf
First, you have to add the import of the reverse_lazy() function at the top
and two additional URLs to the end of URLconf mysite/urls.py.
1 2 3 4 5 6 7 8 9 10 11 12 13 14 15 16 17 18 19 20 21 22 23 24 25 26 27 | """mysite URL Configuration
The `urlpatterns` list routes URLs to views. For more information please see:
https://docs.djangoproject.com/en/1.8/topics/http/urls/
Examples:
Function views
1. Add an import: from my_app import views
2. Add a URL to urlpatterns: url(r'^$', views.home, name='home')
Class-based views
1. Add an import: from other_app.views import Home
2. Add a URL to urlpatterns: url(r'^$', Home.as_view(), name='home')
Including another URLconf
1. Add an import: from blog import urls as blog_urls
2. Add a URL to urlpatterns: url(r'^blog/', include(blog_urls))
"""
from django.conf.urls import include, url
from django.contrib import admin
from django.core.urlresolvers import reverse_lazy
urlpatterns = [
url(r'^admin/', include(admin.site.urls)),
url(r'^', include('marcador.urls')),
url(r'^login/$', 'django.contrib.auth.views.login', {'template_name': 'login.html'},
name='mysite_login'),
url(r'^logout/$', 'django.contrib.auth.views.logout',
{'next_page': reverse_lazy('marcador_bookmark_list')}, name='mysite_logout'),
]
|
The function reverse_lazy() is similar to the url template tag you have
used in the previous chapter. It returns a link to
the URL passed to it as the first argument, but can even be executed before
your project’s URLConf is loaded.
The URLs /login/ and /logout/ are linked here with the
corresponding views. These views are included in Django and don’t have
to be created. You just have to configure the template for the login
view and the redirect of the logout view.
10.2. Configuration
Next, you create three new constants at the end of file settings.py:
110 111 112 | LOGIN_URL = 'mysite_login'
LOGOUT_URL = 'mysite_logout'
LOGIN_REDIRECT_URL = 'marcador_bookmark_list'
|
These constants configure the automatic redirect after the login and the
logout. For example if a user who is not authenticated wants to access a
protected page, she’ll be automatically redirected to /login/ where she can
log in because this is the URL where mysite_login refers to. The constants
should either be simple strings which match a named URL pattern from the
URLconf or URLs relative to the current domain.
Since this template uses some functionality provided by crispy_forms we
will add it to INSTALLED_APPS in the settings file:
31 32 33 34 35 36 37 38 39 40 41 42 | # Application definition
INSTALLED_APPS = (
'django.contrib.admin',
'django.contrib.auth',
'django.contrib.contenttypes',
'django.contrib.sessions',
'django.contrib.messages',
'django.contrib.staticfiles',
'marcador',
'crispy_forms',
)
|
crispy_forms comes with a template pack for Bootstrap 3. As this is not the default template pack we have to configure
crispy_forms to use it by adding the following line to the end of the
file settings.py:
114 | CRISPY_TEMPLATE_PACK = 'bootstrap3'
|
10.3. Templates
10.3.1. The main login template
Now you can create the template for the login form
mysite/templates/login.html.
1 2 3 4 5 6 7 8 9 10 11 12 13 14 15 16 17 18 19 | {% extends "base.html" %}
{% load crispy_forms_tags %}
{% block title %}Login{% endblock %}
{% block toggle_login %}{% endblock %}
{% block heading %}
<h2>Login</h2>
{% endblock %}
{% block content %}
<form action="{% url "mysite_login" %}" method="post" accept-charset="utf-8">
{{ form|crispy }}
{% csrf_token %}
<input type="hidden" name="next" value="{{ next }}">
<input class="btn btn-default" type="submit" value="Login">
</form>
{% endblock %}
|
First we create a form in the block content. The <form> tag gets
attributes to make it send a POST request to the login view.
The template gets a variable form from the login view which contains
the login form. With {{ form|crispy }} Django creates all necessary
input fields. Of course you can also render all fields separately. How
to do that is described in the documentation.
The next row contains the template tag {% csrf_token %}. It is used to
activate Django’s protection against manipulated form
requests (Cross Site Request Forgery).
After that comes a hidden input field which gets the value from the
variable next. next contains the path to which the user should
be redirected after a successful login. Usually this is the value of the
constant LOGIN_REDIRECT_URL which you defined in settings.py. The default value is
replaced if you request the page with an additional query parameter. For
example /login/?next=/user/bob/ will redirect the user to the page
with Bob’s bookmarks after the login.
Finally we create a button to submit the form.
10.4. Test the frontend login
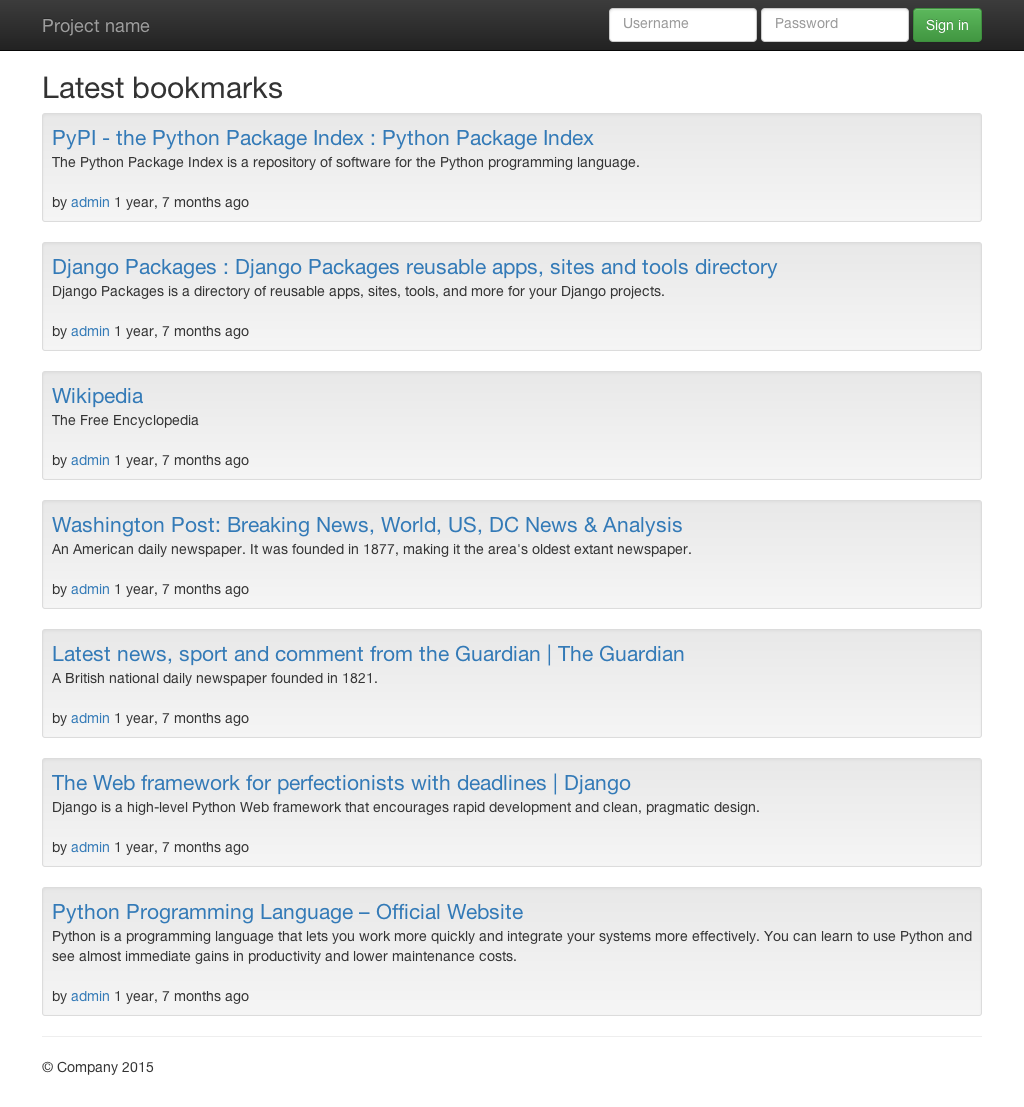
Now users can log in and out in the frontend using the form and the dropdown
menu at the top, which are rendered using the
mysite/templates/toggle_login.html template:
Call http://127.0.0.1:8000/user/admin/ to see the login form which you build at
first in mysite/templates/login.html (replace admin with the name
of the user you created when executing createsuperuser):
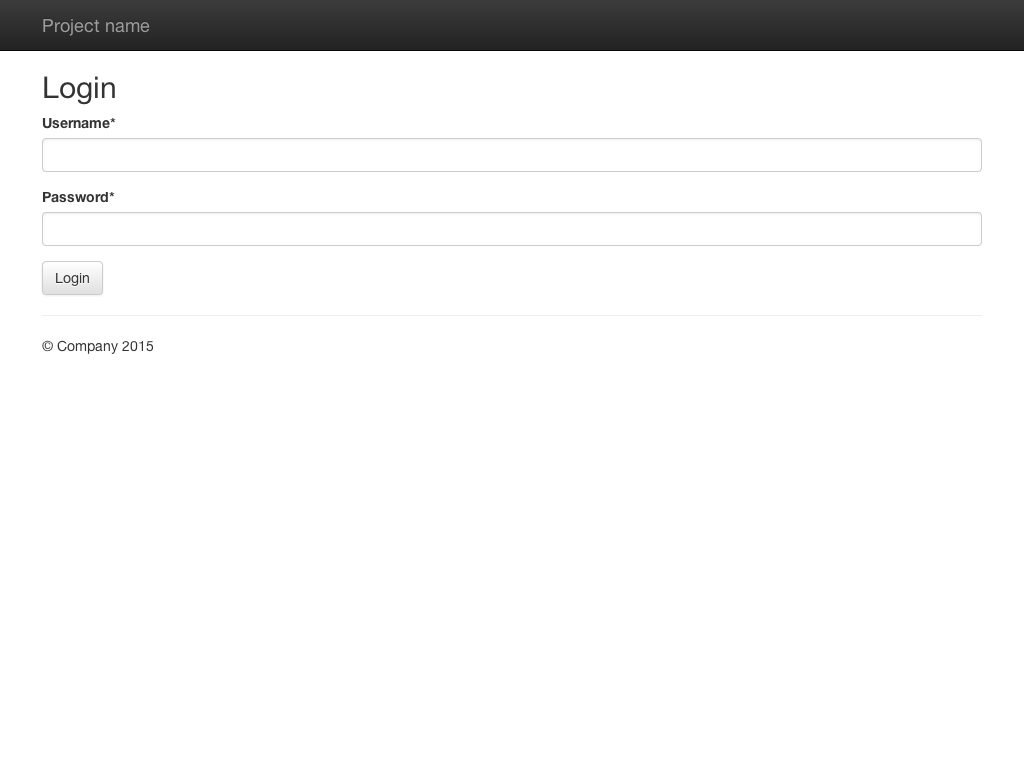
The main login form is also used if the authentication via the form at the top fails.