10. Anmeldung im Frontend einrichten
“Django comes with a user authentication system. It handles user accounts, groups, permissions and cookie-based user sessions.”
Bis jetzt kann man Lesezeichen nur im Admin anlegen und bearbeiten. In den nächsten Schritten richtest du die Anmeldung ein und legst ein Formular an damit dies auch im Frontend möglich ist.
Django enthält eine App namens django.contrib.auth, die alle nötigen Komponenten für eine Nutzerauthentifizierung bereitstellt. Das zentrale Element ist dabei das Model User, das du schon beim Erstellen des Bookmark-Models verwendet hast, um den Besitzer eines Lesezeichens zu speichern. Es enthält unter anderem Felder für Benutzername, Passwort und E-Mail-Adresse. Eine vollständige Liste kannst du in der Dokumentation finden.
Die Authentifizierung funktioniert nach folgendem Schema:
Meldet sich ein Benutzer an, wird ein Cookie mit einer eindeutigen Session-ID gesetzt. Dieses wird dann vom Browser bei jedem Request mitgesendet. Anhand der Session-ID wird dem Request der entsprechende Benutzer zugeordnet und du kannst über request.user auf diesen zugreifen, wie es bereits im bookmark_user View gemacht wird.
Damit sich Benutzer ohne den Umweg über das Login-Formular der Admin-App an- und abmelden können, werden im Folgenden zwei Views dafür eingerichtet.
10.1. URLconf
First, you have to add the import of the reverse_lazy() function at the top
and two additional URLs to the end of URLconf mysite/urls.py.
1 2 3 4 5 6 7 8 9 10 11 12 13 14 15 16 17 18 19 20 21 22 23 24 25 26 27 | """mysite URL Configuration
The `urlpatterns` list routes URLs to views. For more information please see:
https://docs.djangoproject.com/en/1.8/topics/http/urls/
Examples:
Function views
1. Add an import: from my_app import views
2. Add a URL to urlpatterns: url(r'^$', views.home, name='home')
Class-based views
1. Add an import: from other_app.views import Home
2. Add a URL to urlpatterns: url(r'^$', Home.as_view(), name='home')
Including another URLconf
1. Add an import: from blog import urls as blog_urls
2. Add a URL to urlpatterns: url(r'^blog/', include(blog_urls))
"""
from django.conf.urls import include, url
from django.contrib import admin
from django.core.urlresolvers import reverse_lazy
urlpatterns = [
url(r'^admin/', include(admin.site.urls)),
url(r'^', include('marcador.urls')),
url(r'^login/$', 'django.contrib.auth.views.login', {'template_name': 'login.html'},
name='mysite_login'),
url(r'^logout/$', 'django.contrib.auth.views.logout',
{'next_page': reverse_lazy('marcador_bookmark_list')}, name='mysite_logout'),
]
|
The function reverse_lazy() is similar to the url template tag you have
used in the previous chapter. It returns a link to
the URL passed to it as the first argument, but can even be executed before
your project’s URLConf is loaded.
Hier werden den URLs /login/ und /logout/ die entsprechenden Views zugeordnet. Die Views sind bereits in Django enthalten und brauchen nicht extra erstellt werden. Es müssen jedoch das Template für die Login-View und der Pfad für die Weiterleitung nach dem Logout konfiguriert werden.
10.2. Konfiguration
Next, you create three new constants at the end of file settings.py:
110 111 112 | LOGIN_URL = 'mysite_login'
LOGOUT_URL = 'mysite_logout'
LOGIN_REDIRECT_URL = 'marcador_bookmark_list'
|
These constants configure the automatic redirect after the login and the
logout. For example if a user who is not authenticated wants to access a
protected page, she’ll be automatically redirected to /login/ where she can
log in because this is the URL where mysite_login refers to. The constants
should either be simple strings which match a named URL pattern from the
URLconf or URLs relative to the current domain.
Da das Template Funktionen benutzt, die von crispy_forms bereit gestellt werden fügen wir es zu den INSTALLED_APPS in der settings-Datei hinzu:
31 32 33 34 35 36 37 38 39 40 41 42 | # Application definition
INSTALLED_APPS = (
'django.contrib.admin',
'django.contrib.auth',
'django.contrib.contenttypes',
'django.contrib.sessions',
'django.contrib.messages',
'django.contrib.staticfiles',
'marcador',
'crispy_forms',
)
|
crispy_forms comes with a template pack for Bootstrap 3. As this is not the default template pack we have to configure
crispy_forms to use it by adding the following line to the end of the
file settings.py:
114 | CRISPY_TEMPLATE_PACK = 'bootstrap3'
|
10.3. Templates
10.3.1. The main login template
Jetzt erstellst du das Template für das Anmeldeformular mysite/templates/login.html:
1 2 3 4 5 6 7 8 9 10 11 12 13 14 15 16 17 18 19 | {% extends "base.html" %}
{% load crispy_forms_tags %}
{% block title %}Login{% endblock %}
{% block toggle_login %}{% endblock %}
{% block heading %}
<h2>Login</h2>
{% endblock %}
{% block content %}
<form action="{% url "mysite_login" %}" method="post" accept-charset="utf-8">
{{ form|crispy }}
{% csrf_token %}
<input type="hidden" name="next" value="{{ next }}">
<input class="btn btn-default" type="submit" value="Login">
</form>
{% endblock %}
|
Hier wird im Block content ein Formular erzeugt. Im <form> Tag wird konfiguriert, dass es mit einem POST-Request gesendet wird und die Zielseite die Login-View ist.
The template gets a variable form from the login view which contains
the login form. With {{ form|crispy }} Django creates all necessary
input fields. Of course you can also render all fields separately. How
to do that is described in the documentation.
The next row contains the template tag {% csrf_token %}. It is used to
activate Django’s protection against manipulated form
requests (Cross Site Request Forgery).
Es folgt ein verstecktes Eingabefeld, dem der Wert der Variable next zugewiesen wird. next enthält den Pfad, zu dem nach erfolgreicher Anmeldung weitergeleitet werden soll. Normalerweise wird hierfür der Wert der Konstanten LOGIN_REDIRECT_URL verwendet, die du bereits in der Datei settings.py eingestellt hast. Es kann jedoch auch ein anderer Pfad gesetzt werden, indem die Login-Seite mit dem zusätzlichen Query-Parameter next aufgerufen wird. So wird man beim Aufruf von /login/?next=/user/bob/ nach dem Login zu der Seite mit den Lesezeichen von Bob weitergeleitet.
Finally we create a button to submit the form.
10.4. Test the frontend login
Now users can log in and out in the frontend using the form and the dropdown
menu at the top, which are rendered using the
mysite/templates/toggle_login.html template:

Call http://127.0.0.1:8000/user/admin/ to see the login form which you build at
first in mysite/templates/login.html (replace admin with the name
of the user you created when executing createsuperuser):
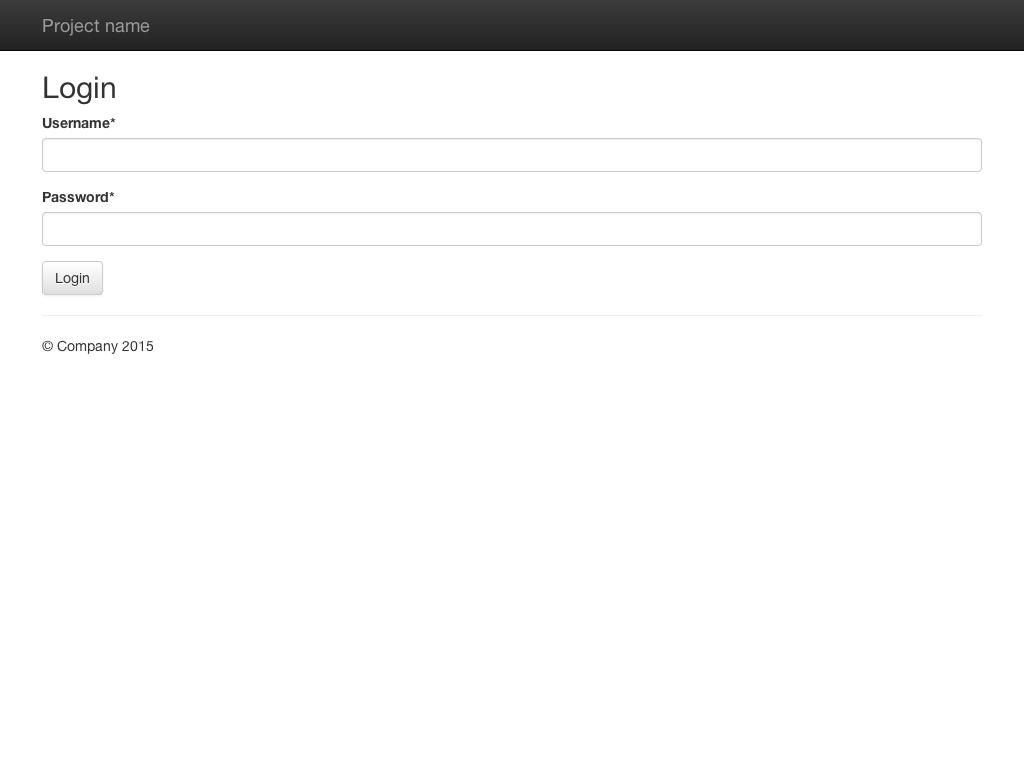
The main login form is also used if the authentication via the form at the top fails.