7. Admin Site
“One of the most powerful parts of Django is the automatic admin interface. It reads metadata in your model to provide a powerful and production-ready interface that content producers can immediately use to start adding content to the site.”
After you’ve created the models it’s time to configure the admin site.
7.1. Configure the admin site
Open file admin.py in the directory marcador and add the
following contents:
1 2 3 4 5 6 7 8 9 10 11 12 13 14 15 | from django.contrib import admin
from .models import Bookmark, Tag
class BookmarkAdmin(admin.ModelAdmin):
list_display = ('url', 'title', 'owner', 'is_public', 'date_updated')
list_editable = ('is_public',)
list_filter = ('is_public', 'owner__username')
search_fields = ['url', 'title', 'description']
readonly_fields = ('date_created', 'date_updated')
admin.site.register(Bookmark, BookmarkAdmin)
admin.site.register(Tag)
|
The attributes in BookmarkAdmin have the following functions:
list_display: These fields will be shown in the list view.list_editable: These fields are editable in the list view .list_filter: These fields can be filtered in the list view based on their values. The filter items will be shown in a column on the right side.search_fields: These fields can be searched for in the list view based on their values. A search field will be shown above the list.readonly_fields: These fields are not editable in the detail view.
You can find a list of all the configuration possibilities in the documentation of the Admin-App.
7.2. Create a superuser
To create a new superuser run the command createsuperuser and fill out the fields that follow:
$ python manage.py createsuperuser
Username (leave blank to use 'keimlink'): admin
Email address:
Password:
Password (again):
Superuser created successfully.
In the next step, you can login with these login details.
7.3. Invoke the admin site
Start the development server:
$ python manage.py runserver
Performing system checks...

System check identified no issues (0 silenced).
May 30, 2015 - 17:19:37
Django version 1.8.2, using settings 'mysite.settings'
Starting development server at http://127.0.0.1:8000/
Quit the server with CONTROL-C.
Now you can visit the admin site at http://127.0.0.1:8000/admin/ and login with the user you created earlier, in order to save some bookmarks.
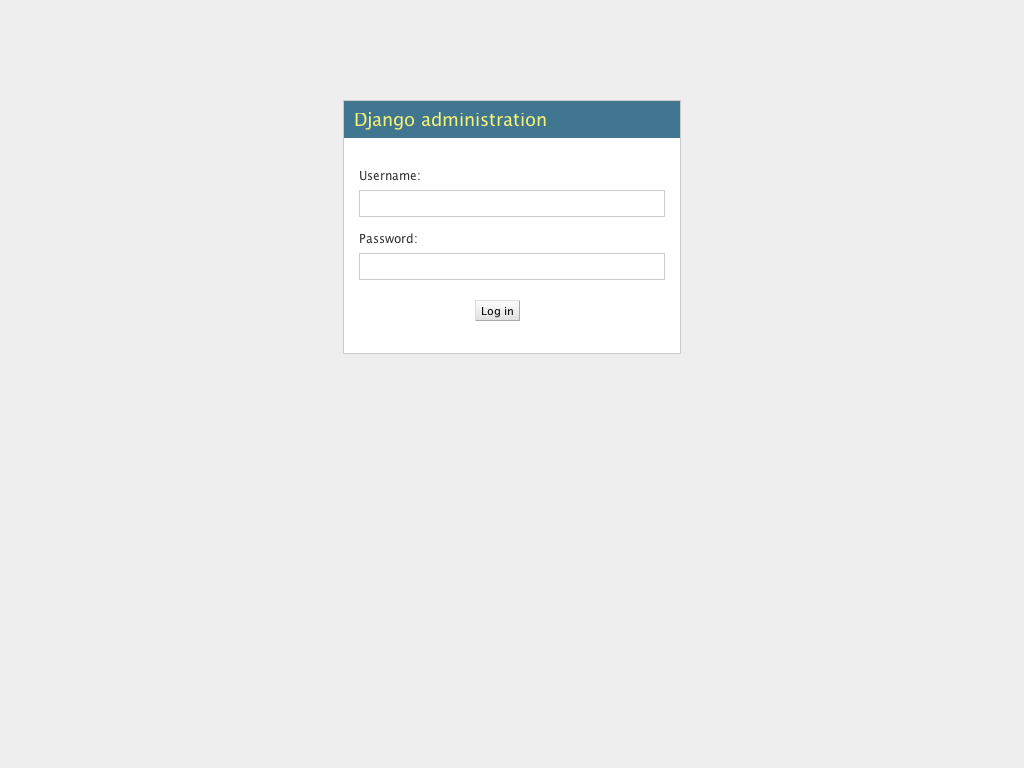
This is how the login form looks like:

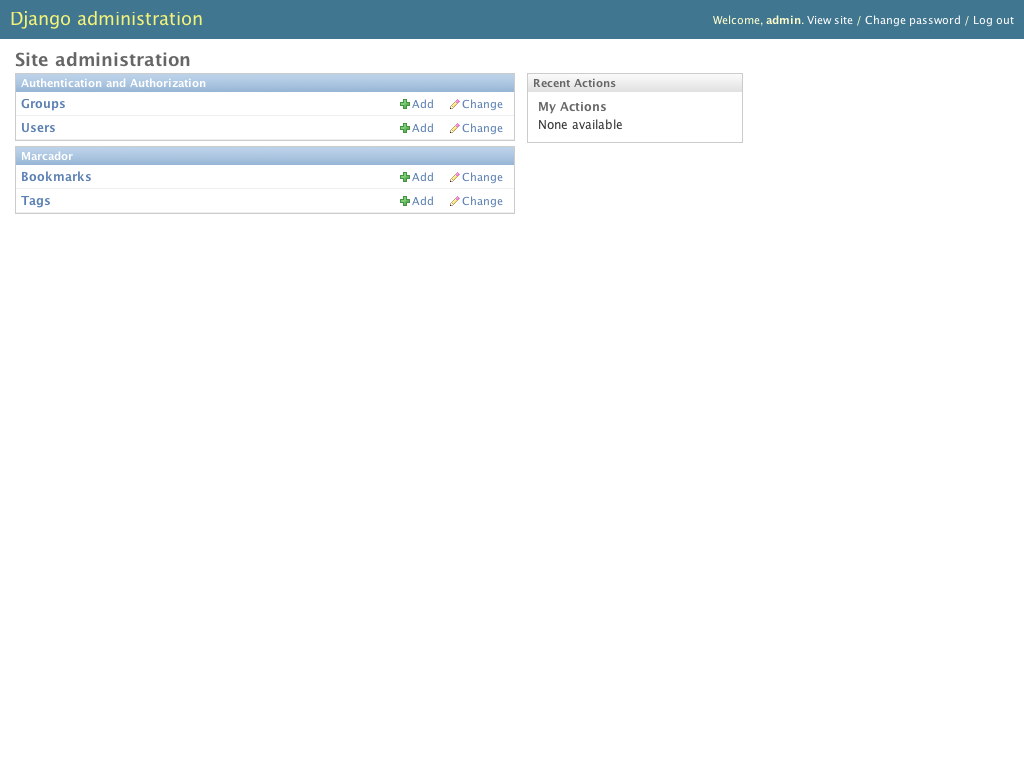
After logging in you will see the site administration page:

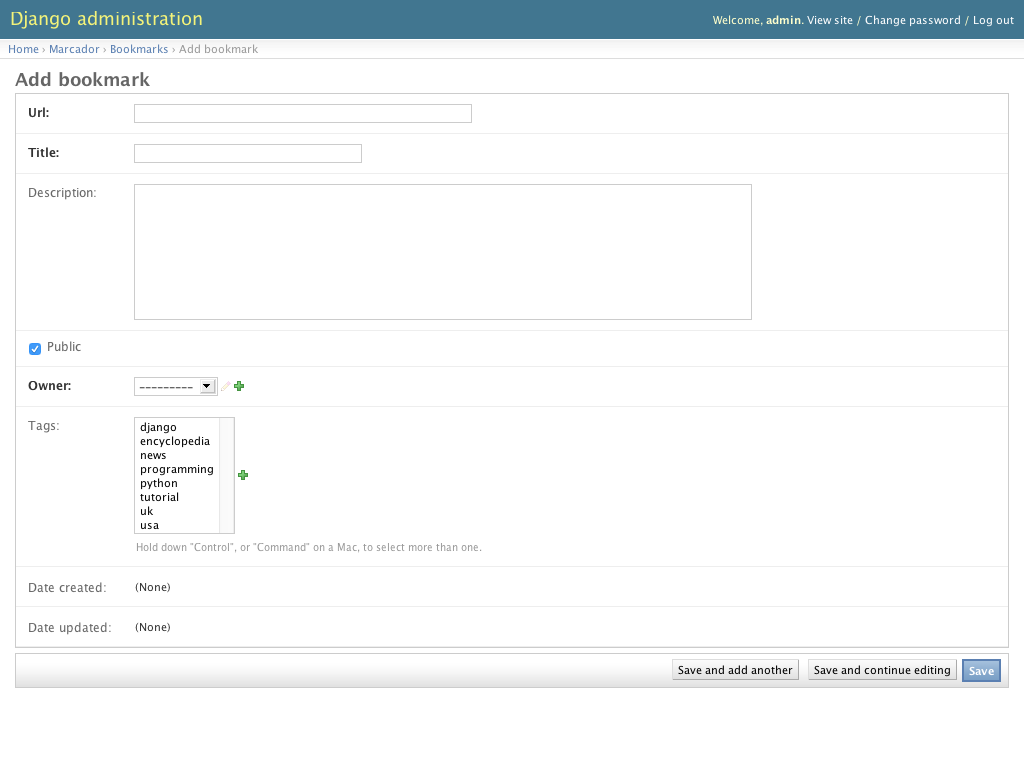
If you click on the “Add” button in the “Bookmarks” row the form below will appear, which you can use to create new bookmarks. Create new tags by clicking on the green plus right beside the tags list. Note that the date created and date updated fields are read-only, as we configured it:

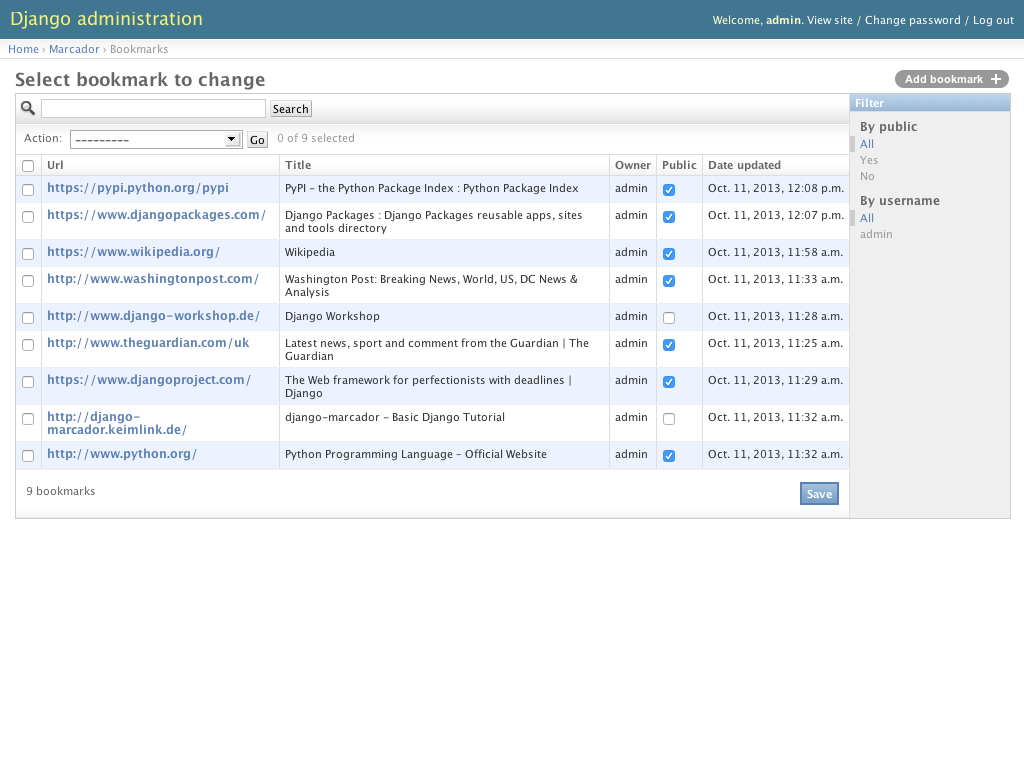
After clicking the “Save” button you will see this list view - note the list, search and filter options you configured at the beginning of this chapter:

Create a few more bookmarks and tags using the “Add bookmark” button at the right top of the list, so that there is enough content for the next chapter in which you will build the frontend.
Data from other apps can also be managed in the admin site. You can use the admin to manage users and their groups.