3. Un nuevo proyecto de Django
3.1. Inicia el proyecto de Django
You can create a new Django project with the following command:
$ django-admin.py startproject mysite
After you’ve run the command you’ll find the following structure:
mysite
|-- manage.py
`-- mysite
    |-- __init__.py
    |-- settings.py
    |-- urls.py
    `-- wsgi.py
3.2. Prueba el servidor de desarrollo
After you’ve created the project, you can change to the directory
mysite:
$ cd mysite
Y probar el servidor de desarrollo con el siguiente comando:
$ python manage.py runserver
Performing system checks...

System check identified no issues (0 silenced).
May 30, 2015 - 17:19:37
Django version 1.8.2, using settings 'mysite.settings'
Starting development server at http://127.0.0.1:8000/
Quit the server with CONTROL-C.
Nota
If you are on Windows and the command fails with an UnicodeDecodeError,
use this command instead:
$ python manage.py runserver 0.0.0.0:8000
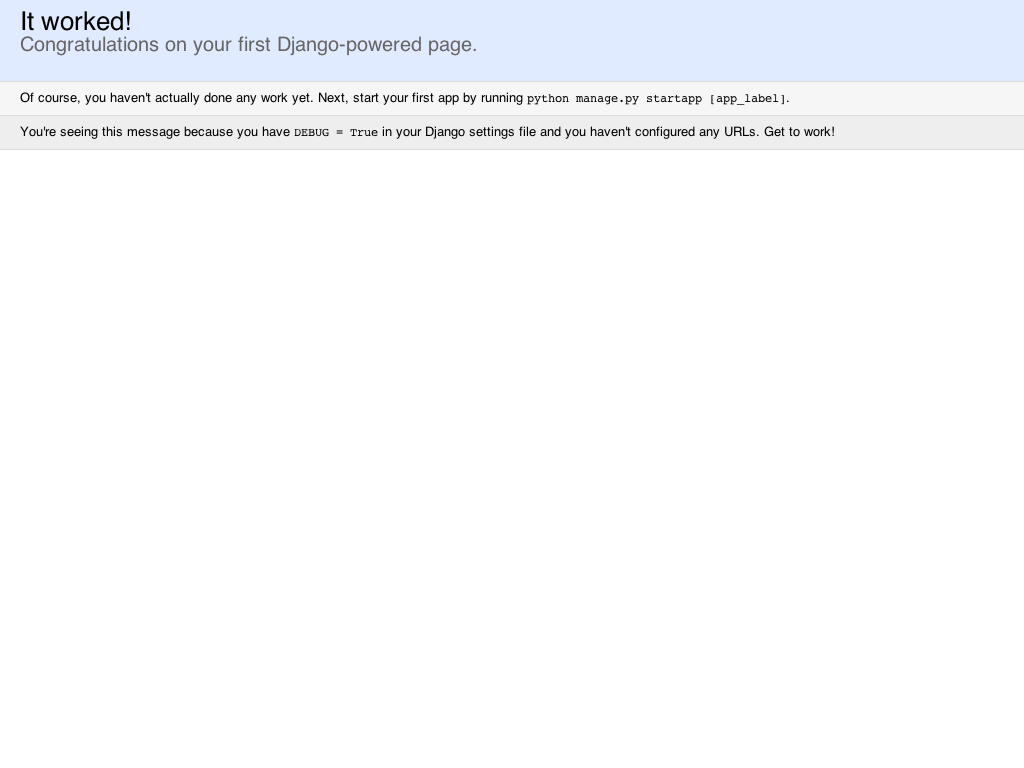
Ahora puedes abrir el sitio “Bienvenido a Django” desde http://127.0.0.1:8000/. Después de abrir el sitio, puedes acabar el servidor de desarrollo con CTRL + C.
3.3. Configuración
Para poder trabajar con el proyecto, necesitas configurarlo. Para hacer eso, abre el archivo settings.py en un editor de texto.
So that you don’t need to enter the project directory several times in the
configuration, it’s saved in a “constant”. This constant can then be used
everywhere where the project directory is required. You can find it right at
the top of the settings.py file:
13 14 15 16 | # Build paths inside the project like this: os.path.join(BASE_DIR, ...)
import os
BASE_DIR = os.path.dirname(os.path.dirname(os.path.abspath(__file__)))
|
The first thing that needs to be configured is the path where the templates
will be located. The settings.py already contains a TEMPLATES
constant which is preconfigured to use Django’s template engine. Add the path
to the templates directory to the DIRS list:
57 58 59 60 61 62 63 64 65 66 67 68 69 70 71 | TEMPLATES = [
{
'BACKEND': 'django.template.backends.django.DjangoTemplates',
'DIRS': [os.path.join(BASE_DIR, 'templates')],
'APP_DIRS': True,
'OPTIONS': {
'context_processors': [
'django.template.context_processors.debug',
'django.template.context_processors.request',
'django.contrib.auth.context_processors.auth',
'django.contrib.messages.context_processors.messages',
],
},
},
]
|
The the existing database connection default is already configured to use
SQLite, because it’s built into Python:
76 77 78 79 80 81 82 83 84 | # Database
# https://docs.djangoproject.com/en/1.8/ref/settings/#databases
DATABASES = {
'default': {
'ENGINE': 'django.db.backends.sqlite3',
'NAME': os.path.join(BASE_DIR, 'db.sqlite3'),
}
}
|
A continuación cambia la zona horaria y el idioma según se ajusten:
87 88 89 90 91 92 | # Internationalization
# https://docs.djangoproject.com/en/1.8/topics/i18n/
LANGUAGE_CODE = 'en-us'
TIME_ZONE = 'Europe/Berlin'
|
La constante LANGUAGE_CODE configura el idioma de la interfaz de administración que utilizaremos más adelante al Inglés. Puedes cambiarla a otro idioma, por ejemplo usa es como LANGUAGE_CODE si deseas utilizar el Español.
Lastly, the path to static files must be defined at the end of
settings.py by adding the STATICFILES_DIRS setting:
106 107 108 109 110 111 112 113 | # Static files (CSS, JavaScript, Images)
# https://docs.djangoproject.com/en/1.8/howto/static-files/
STATIC_URL = '/static/'
STATICFILES_DIRS = (
os.path.join(BASE_DIR, 'static'),
)
|
Ahora crea el directorio para archivos estáticos y plantillas bajo el directorio mysite:
$ mkdir static templates
Afterwards the directory structure should look as follows:
mysite
|-- manage.py
|-- mysite
|   |-- __init__.py
|   |-- settings.py
|   |-- urls.py
|   `-- wsgi.py
|-- static
`-- templates