3. Ein neues Django Projekt
3.1. Das Django Projekt beginnen
You can create a new Django project with the following command:
$ django-admin.py startproject mysite
After you’ve run the command you’ll find the following structure:
mysite
|-- manage.py
`-- mysite
    |-- __init__.py
    |-- settings.py
    |-- urls.py
    `-- wsgi.py
3.2. Den Entwicklungsserver testen
After you’ve created the project, you can change to the directory
mysite:
$ cd mysite
Probiere nun den Entwicklungsserver aus, führe dazu den folgenden Befehl aus:
$ python manage.py runserver
Performing system checks...

System check identified no issues (0 silenced).
May 30, 2015 - 17:19:37
Django version 1.8.2, using settings 'mysite.settings'
Starting development server at http://127.0.0.1:8000/
Quit the server with CONTROL-C.
Bemerkung
If you are on Windows and the command fails with an UnicodeDecodeError,
use this command instead:
$ python manage.py runserver 0.0.0.0:8000
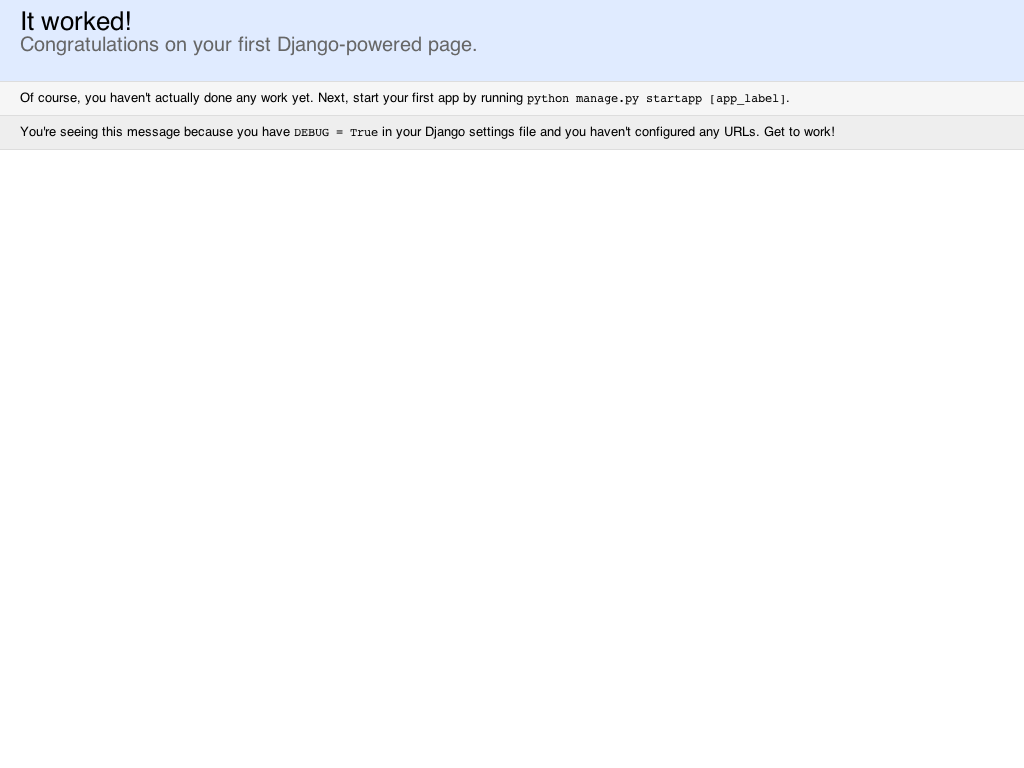
Jetzt kannst du unter http://127.0.0.1:8000/ die “Welcome to Django” Seite sehen. Nachdem du die Seite aufgerufen hast beende die Ausführung des Entwicklungsservers wieder mit STRG + C.
3.3. Die Konfiguration anpassen
Um mit dem Projekt arbeiten zu können musst du als erstes die Konfiguration anpassen. Dazu öffnest du die Datei settings.py in einem Texteditor.
So that you don’t need to enter the project directory several times in the
configuration, it’s saved in a “constant”. This constant can then be used
everywhere where the project directory is required. You can find it right at
the top of the settings.py file:
13 14 15 16 | # Build paths inside the project like this: os.path.join(BASE_DIR, ...)
import os
BASE_DIR = os.path.dirname(os.path.dirname(os.path.abspath(__file__)))
|
The first thing that needs to be configured is the path where the templates
will be located. The settings.py already contains a TEMPLATES
constant which is preconfigured to use Django’s template engine. Add the path
to the templates directory to the DIRS list:
57 58 59 60 61 62 63 64 65 66 67 68 69 70 71 | TEMPLATES = [
{
'BACKEND': 'django.template.backends.django.DjangoTemplates',
'DIRS': [os.path.join(BASE_DIR, 'templates')],
'APP_DIRS': True,
'OPTIONS': {
'context_processors': [
'django.template.context_processors.debug',
'django.template.context_processors.request',
'django.contrib.auth.context_processors.auth',
'django.contrib.messages.context_processors.messages',
],
},
},
]
|
The the existing database connection default is already configured to use
SQLite, because it’s built into Python:
76 77 78 79 80 81 82 83 84 | # Database
# https://docs.djangoproject.com/en/1.8/ref/settings/#databases
DATABASES = {
'default': {
'ENGINE': 'django.db.backends.sqlite3',
'NAME': os.path.join(BASE_DIR, 'db.sqlite3'),
}
}
|
Als nächstes passe Zeitzone und Sprache an:
87 88 89 90 91 92 | # Internationalization
# https://docs.djangoproject.com/en/1.8/topics/i18n/
LANGUAGE_CODE = 'en-us'
TIME_ZONE = 'Europe/Berlin'
|
Durch die Konstante LANGUAGE_CODE ist das Admin-Interface, das wir später benutzen werden, mit einem englischen Frontend konfiguriert. Du kannst die Sprache auf Deutsch umstellen, indem du den Wert auf de änderst.
Lastly, the path to static files must be defined at the end of
settings.py by adding the STATICFILES_DIRS setting:
106 107 108 109 110 111 112 113 | # Static files (CSS, JavaScript, Images)
# https://docs.djangoproject.com/en/1.8/howto/static-files/
STATIC_URL = '/static/'
STATICFILES_DIRS = (
os.path.join(BASE_DIR, 'static'),
)
|
Die Verzeichnisse für die statischen Dateien und die Templates erzeugst du nun im Verzeichnis mysite:
$ mkdir static templates
Afterwards the directory structure should look as follows:
mysite
|-- manage.py
|-- mysite
|   |-- __init__.py
|   |-- settings.py
|   |-- urls.py
|   `-- wsgi.py
|-- static
`-- templates